



Flooring Installation in Phoenix, AZ

Tile, LVP, and engineered wood across Phoenix — central historic to Ahwatukee.

Serving Phoenix & nearby Maricopa County

Get Your Free Flooring Installation Estimate

Step 1 of 5Project

What kind of project?

Pick the option that fits best — you can add details next.

Quick Answer: Flooring Installation in Phoenix

ProWorx Restoration provides flooring installation across Phoenix, AZ — large-format porcelain tile, luxury vinyl plank, engineered wood, and slab prep for post-1960 settling. Typical projects run $4 – $14/sf installed and 3–10 days for an average home.

1,200+

Projects Completed

15+

Years Experience

ROC #349454

Licensed & Insured

100%

Satisfaction Guaranteed

Flooring Installation Built for Phoenix Homes
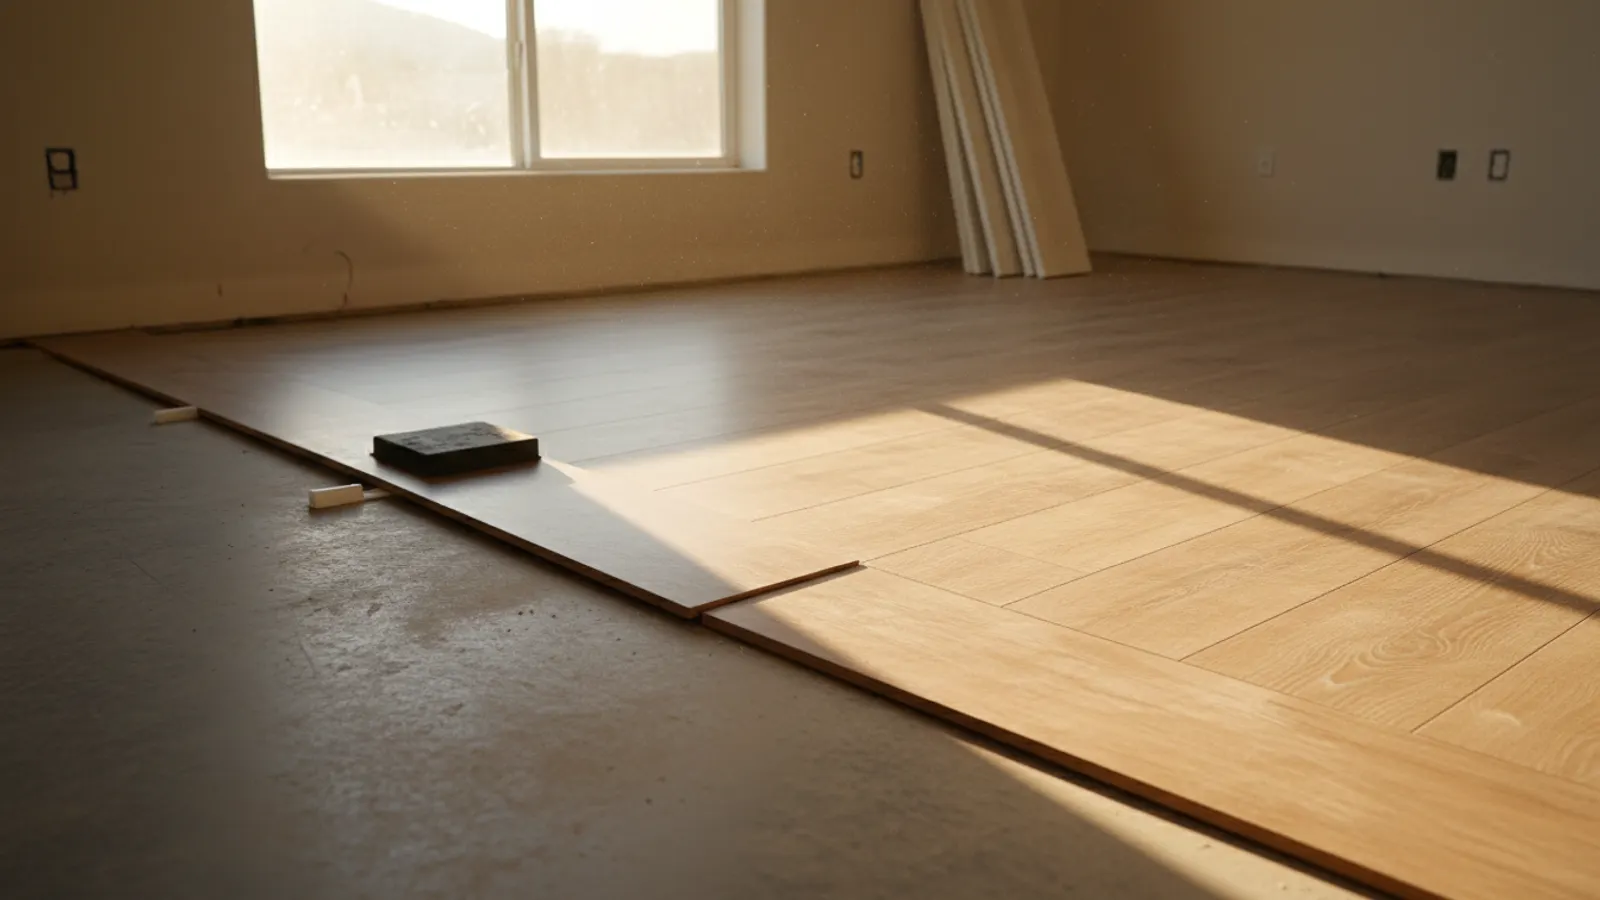
Luxury vinyl plank flooring being locked together across a prepared subfloor in a Phoenix, Arizona home
Phoenix slabs move. Post-1960 central Phoenix homes (Arcadia, Encanto, North Central) routinely have 1/4″+ deflection across a single room — without self-leveling underlayment, any rigid floor (porcelain, engineered wood) cracks or telegraphs within a year.
Large-format porcelain (24″x48″, 32″x32″) is the dominant remodel finish; we level slabs to TCNA F147 flatness before setting and back-butter every tile.
Insurance flooring scopes (slab leak, drain backup) are scoped in Xactimate with direct carrier billing.

Why Phoenix Flooring Installation Is Different

Central Phoenix slab heave / settling makes self-leveling underlayment a near-universal prerequisite on tile and engineered wood.
Monsoon humidity swings make solid-hardwood a bad choice in most of the metro — engineered or LVP is the right call.

Recent Flooring Installation Projects in Phoenix

Arcadia

Whole-home 24×48 porcelain, full self-level underlayment, schluter transitions, 2,800 sf

$32K11 days

Desert Ridge

Luxury vinyl plank whole-home over existing slab, baseboards, 2,400 sf

$18K6 days

North Central

Engineered white oak great-room + halls, glue-down over leveled slab, 1,200 sf

$22K8 days

Flooring Installation in Phoenix: Fast Facts

Self-leveling underlayment required on ~70% of Phoenix slabs.

Large-format porcelain (24×48 or larger): ~45% of remodel scope.

LVP: fastest-growing flooring category, ~30% of volume.

Average Phoenix flooring project: $14,000–$36,000.

Solid hardwood: not recommended in Phoenix climate.

Typical Cost

$2,000 – $30,000+

Typical Timeline

3 days – 3 weeks

Permit Lead Time

2–4 weeks

How We Approach Flooring Installation

ProWorx Restoration installs porcelain tile, luxury vinyl plank (LVP), engineered hardwood, laminate, and carpet across the Phoenix metro. We handle subfloor prep, slab moisture testing, crack-isolation membranes, and demolition of existing flooring. Arizona ROC #349454.
Phoenix-metro flooring choices are shaped by slab-on-grade construction and the climate. Solid hardwood is generally inappropriate over slab — moisture vapor transmission from concrete causes cupping and crowning even years after the slab cures. Engineered hardwood, porcelain tile, and LVP dominate for good reason. Slab moisture testing (calcium chloride or RH probe per ASTM F1869/F2170) is essential before any glue-down installation. Crack-isolation membranes (Schluter Ditra, NobleSeal CIS) under tile prevent slab cracks from telegraphing into the tile assembly.

Porcelain and ceramic tile with Schluter Ditra crack-isolation

Luxury vinyl plank (LVP) — waterproof, click-lock, and glue-down systems

Engineered hardwood over slab with proper moisture mitigation

Laminate and carpet installation

Slab moisture testing (ASTM F1869 calcium chloride, F2170 RH probe)

Subfloor leveling and patching to install-spec flatness

What Phoenix Homeowners Should Know About Flooring Installation

Large-Format Tile

Large-format tiles create a clean, modern look with fewer grout lines, but they require a very flat substrate. Even small variations can cause uneven edges between tiles, known as lippage. Proper slab preparation and installation techniques are essential for a smooth, professional result.

Solid Versus Engineered Hardwood

Solid hardwood and engineered hardwood respond differently to water. Solid hardwood can often be dried and, if necessary, sanded and refinished several times over its life. Engineered hardwood has a thin layer of real wood bonded to a plywood or composite core, and water can cause that core to swell or delaminate, which is usually not reversible. The thickness of the wear layer also limits whether engineered flooring can be refinished. Knowing which type you have helps set realistic expectations about whether the floor can be saved.

The Trapped Dishwasher Problem

Installing new flooring over the old, or choosing a thicker flooring material, raises the height of the floor. If flooring is laid in front of the dishwasher but not beneath it, the dishwasher can become trapped beneath the countertop, impossible to remove for repair or replacement without lifting the counter or removing flooring. The same issue can affect a range or refrigerator alcove. Checking appliance clearances before installation, and running flooring beneath appliance locations, prevents this costly problem.

Arizona's Dry Climate After the Flood

Arizona's naturally low humidity can help hardwood dry, but it also creates its own challenges. Wood that dries too quickly or unevenly can crack, check or develop gaps between boards. Once restoration is complete, normal indoor humidity in Arizona homes is often much lower than in other regions, and floors installed or repaired without allowing for that can shrink and open up over time. Controlled drying and allowing replacement boards to acclimatise to the home before installation help prevent these issues.

Cabinets on the Floor or Floor Around the Cabinets

A long-standing debate in kitchen remodelling is whether new flooring should run beneath the cabinets or stop at their edge. Running flooring beneath cabinets makes future layout changes easier and keeps finished floor height consistent, but it uses more material. Installing flooring around existing cabinets saves material but leaves the flooring outline fixed to the current cabinet layout. The best approach depends on whether cabinets are being replaced and on the type of flooring chosen.

Preparing an Arizona Slab

Most Arizona kitchens sit on a concrete slab, and preparing it properly is essential. The slab must be flat, clean and checked for excess moisture before flooring is installed, particularly with materials sensitive to moisture. Cracks may need repair, and high or low spots may need grinding or levelling, especially for large-format tile. Proper preparation prevents cracked tile, gaps and uneven floors.

Comfort When Standing

Cooks spend long periods standing on kitchen floors, and hard surfaces such as tile can be tiring. Softer materials such as cork or vinyl with cushioned underlayment reduce fatigue, and anti-fatigue mats placed at the sink and stove offer an inexpensive improvement. Considering comfort alongside durability helps create a kitchen that is pleasant to use.

Preparing the Slab

Most Arizona homes have concrete slab floors, and the condition of the slab determines how well new flooring performs. The slab must be clean, flat and free of excessive moisture. High spots may need grinding and low spots filling, while cracks may need repair. Proper preparation prevents uneven floors, cracked tile and premature failure.

Moving Appliances During Installation

Replacing kitchen flooring usually requires moving the refrigerator, range and dishwasher, and sometimes disconnecting water, gas and electrical supplies. Appliances must be moved carefully to avoid damaging the new floor and reconnected correctly afterward, with water lines checked for leaks. Ice-maker connections and gas fittings deserve particular attention. Including appliance handling in the plan prevents damage and ensures everything works properly once the new floor is down.

Flooring Warranties

Flooring manufacturers provide warranties that depend on proper installation, including subfloor preparation, moisture testing, acclimation and approved materials. Installing flooring according to manufacturer requirements protects both the floor's performance and the homeowner's warranty coverage.

Moving Furniture and Baseboards

Flooring installation often requires removing baseboards and moving furniture. Planning for this, and reinstalling or replacing baseboards afterwards, ensures a clean, finished appearance.

Laminate Versus Luxury Vinyl

Laminate and luxury vinyl both offer wood-look appearances at moderate cost, but they differ in construction. Many luxury vinyl products have waterproof cores, while laminate typically has a wood-based core that can swell if it gets wet. Laminate can offer good scratch resistance, while vinyl tends to be softer and quieter underfoot.

How Our Flooring Installation Process Works in Phoenix

01

Free On-Site Consultation

We visit your property, discuss your goals, and provide a detailed, no-obligation estimate.

02

Custom Project Plan

Our team creates a tailored project plan with timeline, materials, and transparent pricing.

03

Licensed Crews On Site

Licensed craftsmen complete your project with quality materials and meticulous attention to detail.

04

Final Walkthrough & Sign-Off

We inspect every detail with you and ensure complete satisfaction before the job is done.

"Arcadia slab was wavy — they leveled, set 24x48 porcelain, not a single hollow tile. Year later, still tight grout lines."

ProWorx Client · Phoenix

Neighborhoods We Serve in Phoenix

Arcadia · Biltmore · Desert Ridge · Ahwatukee · Laveen · North Central · Encanto · South Mountain

Flooring Installation FAQs for Phoenix Homeowners

Ready to Start Your Phoenix Flooring Installation Project?

Get a free, no-obligation estimate from a licensed Arizona contractor — ROC #349454.