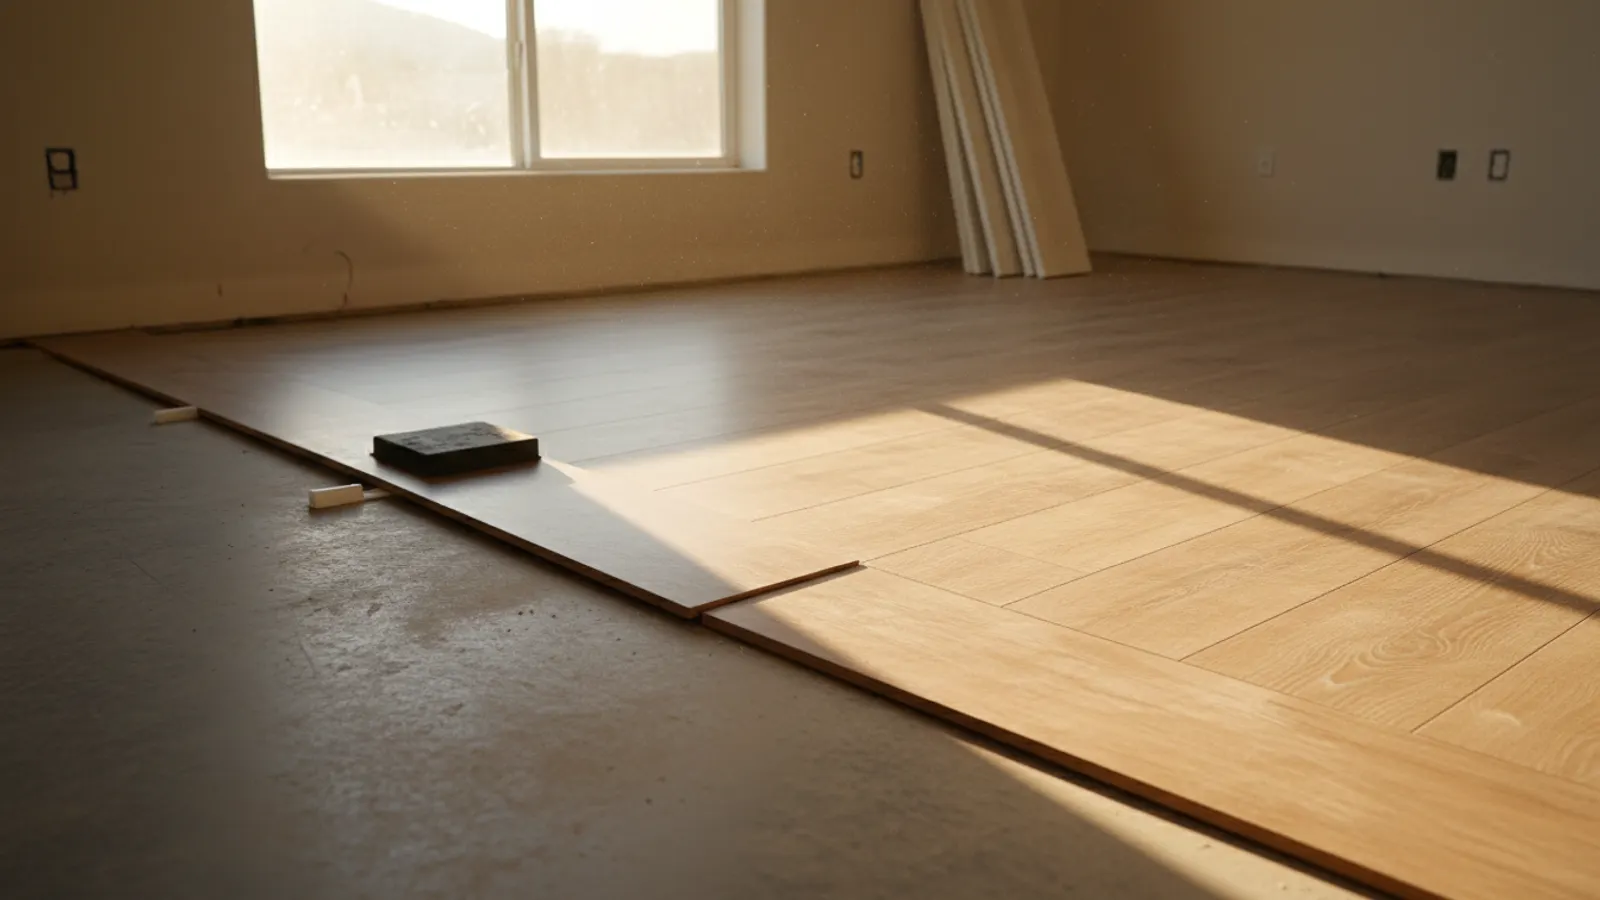
Our Kitchen Flooring Process
Step 1: substrate assessment — moisture testing on slab, leveling check, crack survey. Step 2: appliance and toe-kick removal (we install flooring under the dishwasher for proper future serviceability). Step 3: demo of existing flooring. Step 4: substrate prep — self-leveling underlayment or crack-isolation membrane as needed. Step 5: installation, grout (for tile), and transition strips. Step 6: appliance and trim reinstall. Typical timeline: 3–5 days for an average kitchen.
Choosing Flooring for Phoenix Kitchens
Porcelain tile is the long-term winner — waterproof, scratch-proof, indifferent to Phoenix dust and heat, and lasts 30+ years. LVP is the second most popular: waterproof, softer underfoot, easier on dropped dishes, installs faster, and runs $5–$10/sq ft installed. Engineered hardwood works in kitchens that flow into wood-floored living rooms but is vulnerable to dishwasher leaks and refrigerator water-line failures — we install with extra moisture-barrier underlayment when used in kitchens.
Substrate, Installation & Standards
Slab-on-grade construction (the Valley default) requires crack-isolation membrane under tile where existing slab cracks are present — otherwise cracks telegraph through grout joints within a year. Self-leveling underlayment corrects substrate variance over ¼" per 10 ft. Tile installations are set with modified thinset for porcelain over slab. All installations include transition strips at every doorway and properly sealed perimeter caulk.
What a Kitchen Floor Has to Withstand
Kitchen flooring faces more demands than flooring anywhere else in the house. It must cope with spilled water, dropped pans and dishes, grease, heavy appliances and constant foot traffic, while remaining comfortable to stand on for long periods and easy to clean. No single material excels at all of these, so choosing kitchen flooring means deciding which qualities matter most to your household, whether that is durability, water resistance, comfort or appearance.
Cabinets on the Floor or Floor Around the Cabinets
A long-standing debate in kitchen remodelling is whether new flooring should run beneath the cabinets or stop at their edge. Running flooring beneath cabinets makes future layout changes easier and keeps finished floor height consistent, but it uses more material. Installing flooring around existing cabinets saves material but leaves the flooring outline fixed to the current cabinet layout. The best approach depends on whether cabinets are being replaced and on the type of flooring chosen.
The Trapped Dishwasher Problem
Installing new flooring over the old, or choosing a thicker flooring material, raises the height of the floor. If flooring is laid in front of the dishwasher but not beneath it, the dishwasher can become trapped beneath the countertop, impossible to remove for repair or replacement without lifting the counter or removing flooring. The same issue can affect a range or refrigerator alcove. Checking appliance clearances before installation, and running flooring beneath appliance locations, prevents this costly problem.
Transitions Between Rooms
Where kitchen flooring meets flooring in adjoining rooms, the heights may differ, especially when one material is replaced and the other is not. Uneven transitions create tripping hazards and look unfinished. Transition strips, adjusting the underlayment or replacing flooring in adjoining spaces at the same time can create smooth, safe transitions. Planning these junctions during the design stage produces a better result.
Tile in the Kitchen
Porcelain tile is one of the most durable and water-resistant kitchen floor choices. It resists stains, scratches and moisture, and it is well suited to Arizona homes because it stays cool. Ceramic tile is less dense but still durable for most kitchens. Grout colour and sealing affect how easy the floor is to keep clean, with darker or sealed grout hiding stains better. Tile is hard underfoot, however, and dropped dishes are more likely to break.
Luxury Vinyl Plank in the Kitchen
Luxury vinyl plank has become a popular kitchen choice because many products have waterproof cores, are softer and warmer underfoot than tile and resist scratches well. They can replicate the look of wood or stone convincingly at a lower cost. Quality varies widely, so attention to wear layer thickness and core construction is important. Proper installation, including expansion gaps, ensures the floor performs well in Arizona's temperature swings.
Hardwood in the Kitchen
Hardwood brings warmth to a kitchen and creates continuity with adjoining rooms, but it is more vulnerable to water than tile or vinyl. Spills should be wiped up quickly, and leaks from dishwashers, sinks or refrigerators can cause cupping and staining. Protective mats in front of the sink and careful attention to appliance connections reduce risk. Homeowners who choose hardwood should accept that it will develop character with use over time.
Comfort When Standing
Cooks spend long periods standing on kitchen floors, and hard surfaces such as tile can be tiring. Softer materials such as cork or vinyl with cushioned underlayment reduce fatigue, and anti-fatigue mats placed at the sink and stove offer an inexpensive improvement. Considering comfort alongside durability helps create a kitchen that is pleasant to use.
Preparing an Arizona Slab
Most Arizona kitchens sit on a concrete slab, and preparing it properly is essential. The slab must be flat, clean and checked for excess moisture before flooring is installed, particularly with materials sensitive to moisture. Cracks may need repair, and high or low spots may need grinding or levelling, especially for large-format tile. Proper preparation prevents cracked tile, gaps and uneven floors.
Moving Appliances During Installation
Replacing kitchen flooring usually requires moving the refrigerator, range and dishwasher, and sometimes disconnecting water, gas and electrical supplies. Appliances must be moved carefully to avoid damaging the new floor and reconnected correctly afterward, with water lines checked for leaks. Ice-maker connections and gas fittings deserve particular attention. Including appliance handling in the plan prevents damage and ensures everything works properly once the new floor is down.
How Long a Kitchen Floor Replacement Takes
Most kitchen floor replacements take a few days, depending on the size of the room, the material and how much slab preparation is required. Tile needs additional time for mortar and grout to cure before heavy use.