Our Interior Restoration Process in Arizona
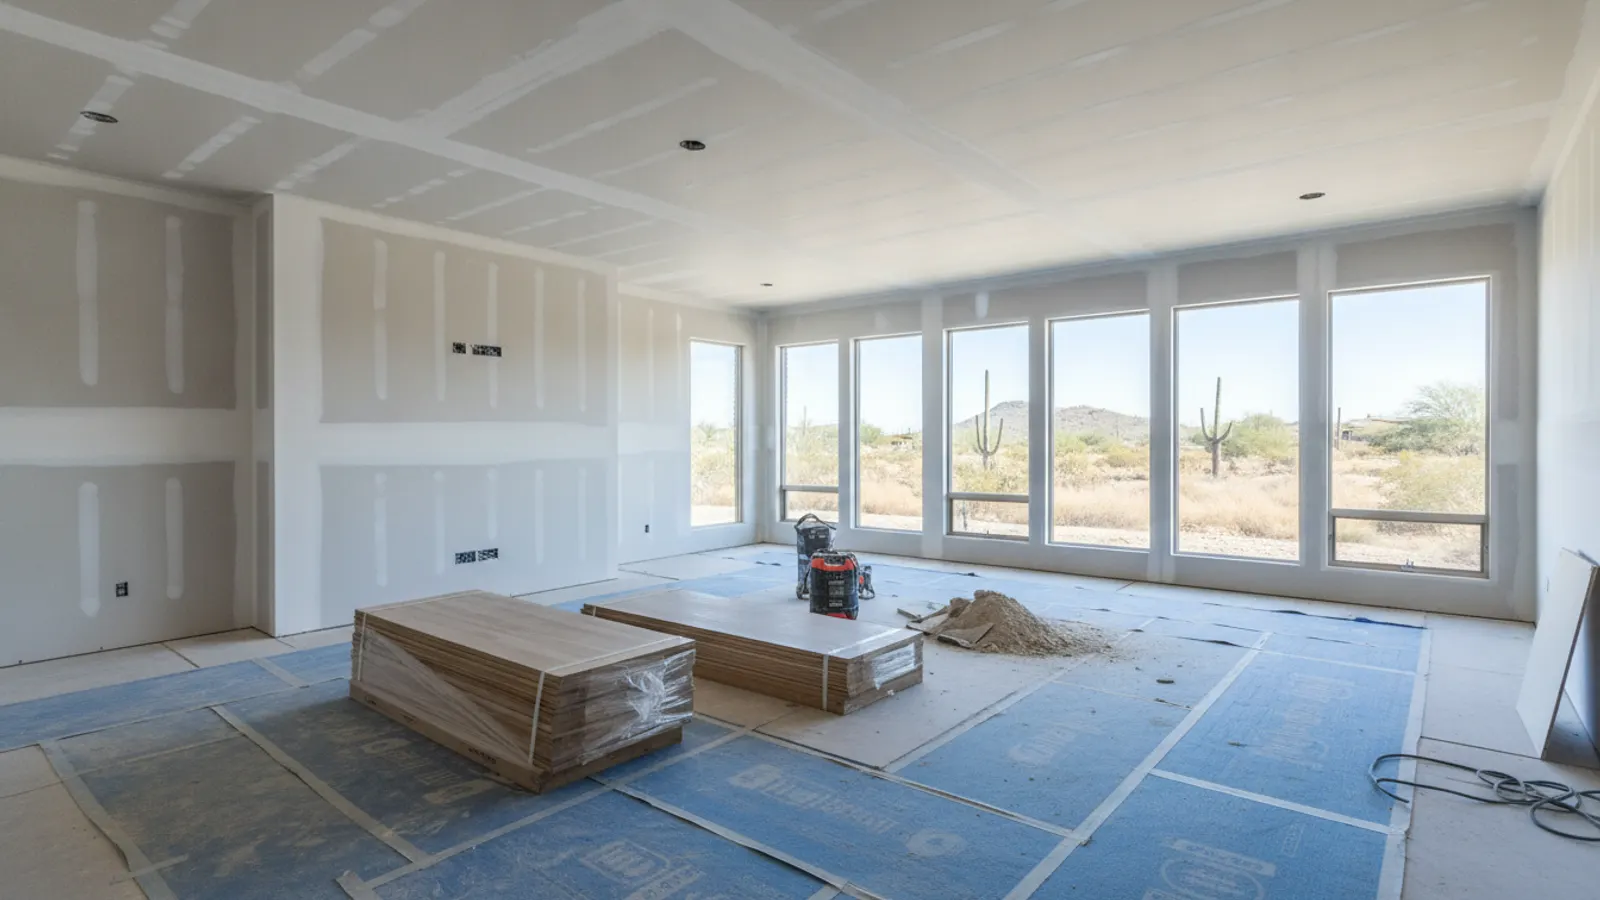
We open with scope walk and photo documentation, especially on insurance work. For water and mold scope we verify moisture levels are dry and pass post-remediation criteria before reconstruction. Drywall is replaced in full sheets where damage warrants, then taped, floated, primed, and textured to match — orange-peel and knockdown matched with calibrated texture guns, not roller-stipple. Paint is sprayed wall-to-corner when possible to avoid roller-stipple mismatch. Flooring, trim, and fixtures follow, then a punch walk with the homeowner or adjuster. Single-room scope: 1–2 weeks. Whole-home: 4–10 weeks depending on extent.
Common Interior Restoration Issues in Phoenix-Metro Homes
Texture matching is the single most-failed item on amateur restorations — Arizona's orange-peel and knockdown textures must be matched with the right gun, tip, and air pressure or the patch shows in raking light forever. Popcorn ceilings on pre-1980 homes need asbestos testing before scraping; positive results trigger Maricopa County / ADEQ abatement protocols. Smoke-damaged drywall requires shellac-based primer (BIN, Kilz Original) before topcoat or odor and staining bleed through latex paint within weeks. Water-stained ceilings need full replacement of affected sheetrock once moisture has migrated past the paper face.
Materials & Standards We Use
Drywall installation per GA-216 with Level 4 or Level 5 finish as the area warrants. Texture matching with hopper or calibrated air-driven texture guns. Paint primer is shellac-based for smoke/water stains and latex elsewhere; topcoats are washable matte or eggshell from Sherwin-Williams or Benjamin Moore. Mold reconstruction follows IICRC S520 with post-remediation moisture verification before close-up. All work permitted where required and warrantied under ROC #349454.
What Interior Restoration Involves
Interior restoration repairs and returns interior spaces to good condition after damage, wear or neglect. It can include repairing drywall and plaster, restoring trim and millwork, refinishing floors, repairing cabinetry, repainting and replacing damaged fixtures. The goal is to bring interiors back to their original condition or better, while preserving features worth keeping.
Repairing Plaster Walls
Older homes may have plaster walls rather than drywall. Plaster is harder and more durable than drywall, but it can crack, loosen from its lath or suffer water damage. Repairs require techniques and materials compatible with the original, and skilled plasterers can often repair damaged areas so they blend with surrounding walls.
Restoring Trim and Millwork
Original baseboards, door casings, crown moulding and built-ins contribute greatly to a home's character. Damaged sections can often be repaired, and missing pieces can be custom milled to match existing profiles. Preserving original millwork maintains the home's authenticity and is often preferable to replacing it with modern alternatives.
Refinishing Wood Floors
Worn, scratched or stained hardwood floors can often be sanded and refinished rather than replaced. Refinishing restores the wood's appearance, and stain colours can be adjusted. Floors damaged by water or deeply stained may need individual boards replaced before refinishing. Engineered flooring can be refinished only if the wear layer is thick enough.
Cabinet and Built-In Repair
Cabinets and built-ins damaged by water, wear or age can frequently be repaired rather than replaced. Swollen panels, loose joints, damaged finishes and worn hardware can be restored, and refinishing can refresh their appearance. Repairing quality built-ins preserves craftsmanship that would be expensive to replicate.
Interior Repairs After Water Damage
Once water-damaged interiors have been dried, restoration includes replacing drywall, insulation, flooring, baseboards and cabinetry that could not be saved, then matching finishes so repairs blend with undamaged areas. Careful matching of paint, texture and flooring is essential for a seamless result.
Interior Repairs After Smoke Damage
After a fire, interior restoration includes cleaning or replacing smoke-damaged surfaces, sealing odours, repainting and restoring finishes. Soft materials and porous surfaces that cannot be cleaned are replaced. Thorough restoration removes lingering odours and returns interiors to a livable condition.
Matching Paint and Texture
Making repairs disappear depends on matching existing paint colours, sheens and wall textures. Paint can be colour-matched from samples, and textures such as knockdown or orange peel must be replicated carefully. Sometimes painting an entire wall or room produces a more uniform result than patching.
Doors and Hardware
Interior doors may sag, stick, warp or suffer damage over time. Adjusting hinges, planing edges, repairing panels and refinishing surfaces can restore their function and appearance. Original hardware can often be cleaned and restored, preserving period details in older homes.
Preserving Character While Updating
Interior restoration often involves balancing preservation with modern needs. Updating lighting, electrical and plumbing while preserving original features such as trim, doors and built-ins allows a home to function well today while retaining its character.
Planning Interior Restoration
A careful assessment of interior conditions helps prioritise repairs and identify features worth preserving. Clear planning ensures work proceeds efficiently and that restoration enhances the home rather than erasing its original details.
Restoring Interiors in Older Homes
Older homes often have interior finishes that cannot easily be replaced with modern equivalents, including solid-wood doors, plaster walls, original hardware, decorative mouldings and hardwood floors. Restoring these elements rather than replacing them preserves the craftsmanship and character that make older homes distinctive. Skilled restoration can repair decades of wear while keeping the original materials, which often outperform modern replacements in durability and appearance.
Restoring Ceilings
Ceilings can suffer from water stains, cracks, sagging and damaged texture. Repairs range from stain-blocking primer and repainting to replacing damaged sections and matching texture. In older homes, ceiling texture may need testing for asbestos before it is disturbed. Restoring ceilings properly ensures repairs are invisible and the room looks complete.
The Restoration Sequence
Interior restoration follows a logical order to avoid damaging finished work. Structural and system repairs come first, followed by walls and ceilings, then cabinetry and trim, then flooring and painting, and finally fixtures and hardware. Coordinating the sequence protects completed surfaces and keeps the project efficient.
Interior Restoration for Rental Properties
Rental properties often need interior restoration between tenants. Repairing wall damage, refinishing floors, repainting and updating worn fixtures prepares the unit for new occupants quickly. Durable finishes chosen during restoration reduce future turnover costs.