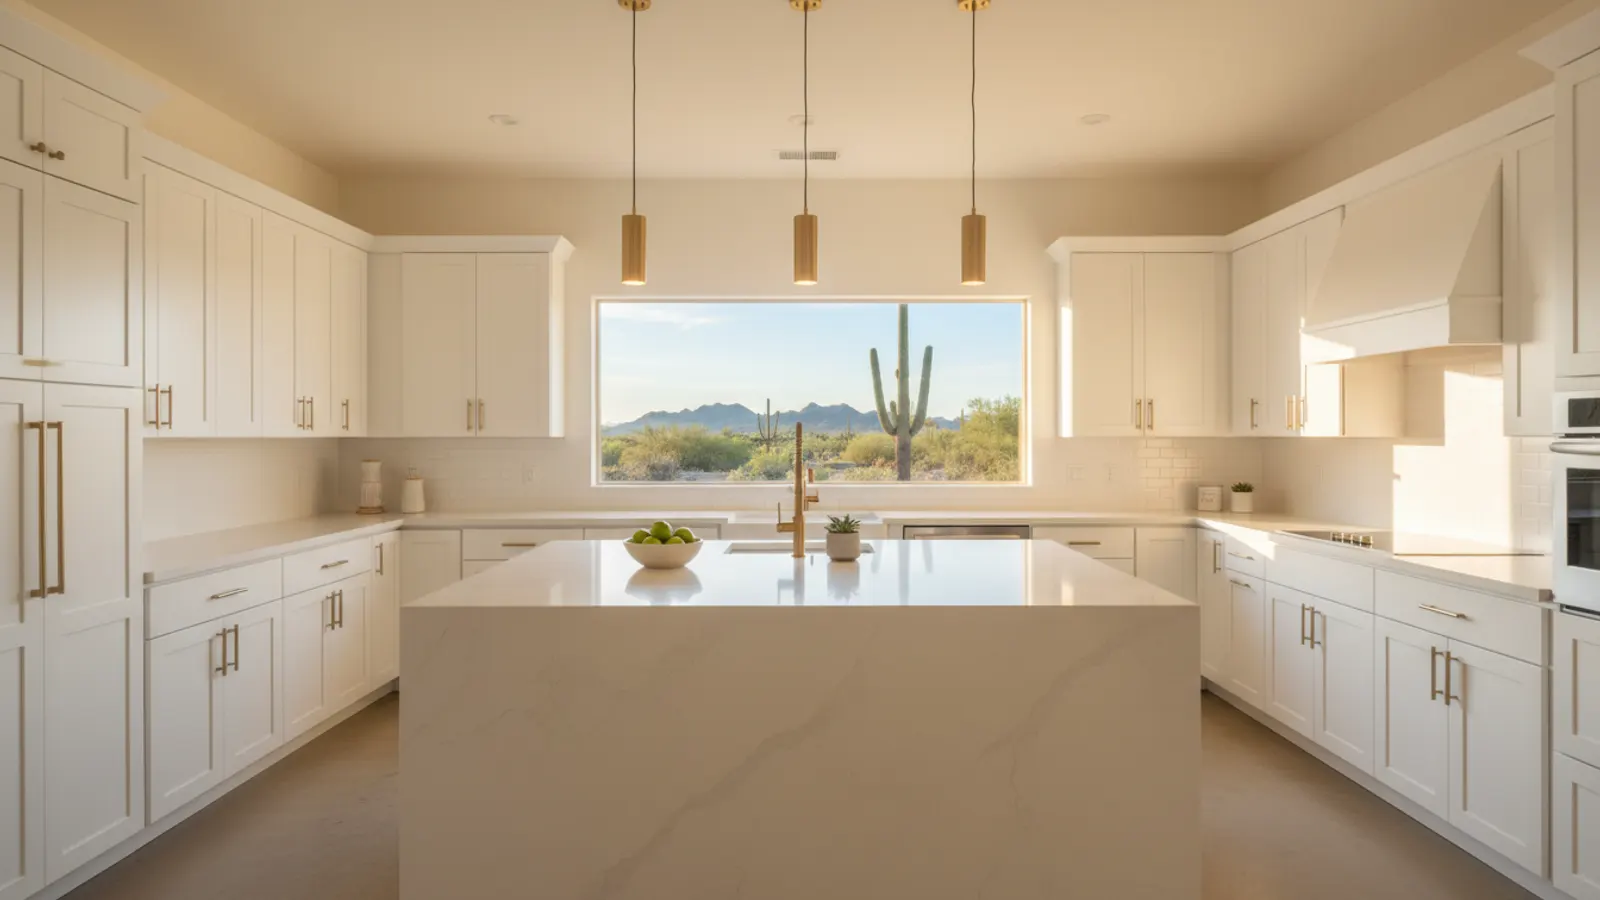
Our Island Installation Process
Step 1: clearance check and design — confirm 36"+ on all sides (42" preferred at primary walk path). Step 2: utility rough-in — slab core-drilling for plumbing, dedicated 20-amp electrical circuit, gas line if cooktop. Step 3: cabinet box installation, leveled and anchored to the slab. Step 4: countertop template, fabrication, and install. Step 5: pendant lighting, outlets, and any appliance hookup. Typical timeline: 1–2 weeks once permits are issued.
Designing Islands for Phoenix Kitchens
Phoenix homes built post-2005 are typically open-concept and accommodate larger islands than older 1970s ranch homes. We size islands to clearance, not just to look — 36" walking paths minimum, 42" preferred at the primary walk path, and 24" deep overhang for comfortable bar seating. Slab-on-grade construction means new plumbing or electrical to an island requires core-drilling, which adds $400–$1,200 to the scope but is routine for our crews.
Materials, Utilities & Permits
Cabinet boxes match perimeter cabinets unless you want a contrasting accent island (popular in 2024–2026 designs). Countertops are typically quartz or granite, often with a mitered waterfall edge ($1,200–$2,500 upgrade). Plumbing, electrical, and gas runs to islands require permits in every Maricopa County jurisdiction — we pull them and coordinate inspections. Pendant lighting is on a dedicated circuit with dimmer control as standard.
Leave Enough Room Around the Island
The most common island mistake is making it too large for the space. Walkways around an island need to be wide enough for people to pass, open the dishwasher and oven doors, and work at the counter without colliding. Design guidelines commonly suggest roughly forty-two inches of clearance for a kitchen used by one cook and about forty-eight inches where several people cook together. An island that crowds the room makes the kitchen harder to use, however attractive it looks on a drawing.
Seating, Overhangs and Stool Spacing
If the island will provide seating, plan for comfortable knee space beneath the overhang and adequate width for each stool. A cramped overhang forces people to sit sideways, and stools placed too close together make seating uncomfortable. The height of the countertop determines the appropriate stool height and overhang depth. Overhangs must also be adequately supported, especially with heavy stone. Planning seating carefully makes the island a place people actually want to sit.
Adding a Sink to an Island on a Slab
Most Arizona homes are built on concrete slabs, which affects the cost of putting a sink or dishwasher in an island. Drain lines must run beneath the floor to connect with the existing plumbing, which typically means cutting and trenching the slab and then patching it. Drains also need proper venting, which can be more complex in an island than against a wall. These requirements are manageable, but they should be included in the budget from the start.
Cooktops on an Island and Ventilation
Placing a cooktop on an island creates a sociable cooking space, but it complicates ventilation. Ceiling-mounted island hoods must be properly sized and ducted through the ceiling, which may require routing through the attic. Downdraft systems that rise from the countertop are an alternative, though they are generally less effective at capturing rising smoke and steam. Planning ventilation together with the island layout prevents an attractive design that cannot be ventilated properly.
Electrical Planning for Islands
Islands need careful electrical planning. Outlets must be located to meet current electrical code and placed where they are convenient for small appliances, while appliances such as cooktops, microwaves or beverage refrigerators require their own dedicated circuits. Because the island stands in the middle of the floor, wiring usually needs to be routed beneath the slab or through the floor structure. Including electrical requirements in the design avoids costly changes later.
Storage Built Into the Island
An island offers valuable storage when it is designed well. Deep drawers for pots and pans, a pull-out bin for rubbish and recycling near the preparation area, a microwave drawer at a comfortable height, open shelving for cookbooks and bookcases on the seating side can all be built in. Considering how the island will be used helps determine which storage options make the most sense.
Single-Level or Two-Level Islands
A single-level island provides a continuous work surface and a clean, modern appearance. A two-level island raises the seating area above the work surface, partially screening the kitchen mess from adjoining living areas and creating a bar-height counter. Each option has advantages, and the right choice depends on how the kitchen connects to the rest of the home and whether more workspace or separation is the priority.
Lighting Over the Island
Pendant lights are a popular choice above an island, providing both task lighting and a decorative focal point. The number, size and spacing of pendants should suit the length of the island, and they should hang high enough to keep sightlines clear across the kitchen. Recessed lights can supplement pendants for even illumination. Placing island lighting on a dimmer allows it to shift from bright workspace to softer ambient light.
When an Island Is Not the Right Answer
Not every kitchen has room for a fixed island. In smaller kitchens, a peninsula attached to existing cabinetry can provide similar benefits with less floor space. A movable kitchen cart offers flexible workspace that can be moved aside when needed. We help homeowners evaluate whether an island, a peninsula or another solution will make the best use of their kitchen.
Islands and Traffic Flow
An island changes how people move through the kitchen, so it should be positioned with everyday paths in mind. It should not block the route between the refrigerator, the sink and the cooktop, nor force family members to squeeze past the cook to reach the back door or the pantry. Thinking through morning routines, meal preparation and how guests move when you entertain helps place the island where it supports the kitchen rather than obstructing it. A small adjustment on the plan can make a large difference to how comfortable the finished room feels to use every day.